Adding new figures
So you want to help out? Thank you! It makes everyone's life easier, and this site much better, the more people who get involved keeping it updated. If you add just one missing figure, or 100s, it really does help.
Firstly, you need to be logged in to add figures. You also need to be using a computer, as it's not really designed for mobile use due to the image uploading required.
Most important thing before adding a figure: Is it already included? Please make sure you check before adding a new entry!
You can be as quick, or as thorough, as you like adding a new figure. It's better to add it so it can be tidied up later than not add it at all, so don't be discouraged if some of the stages seem too time-consuming. You can skip most of it if you want to. At the bare minimum you'll need to add one image, a name and a brand name. That really is it!
Getting started
So you've found a new figure that you want to add? The easiest way to add it is to find a similar figure already in the database. As an example I'm going to add a Joker figure by Delightful Customs, simply because it's the next one on my list to do. So I'm going to search for Joker and find a match.Here's one that Atomic Brick Toys made earlier:

Let's click on the figure's name to open its details page:

Now we can see the figure details:

We can do one of two things now. If the figure is similar to the one we want, click on the Add New Figure based on this one button. This will create a new figure for editing, with certain details filled in (basically everything but the images).

If you're adding a completly new figure you can click on the Add New Figure button and start with a completly blank new figure.

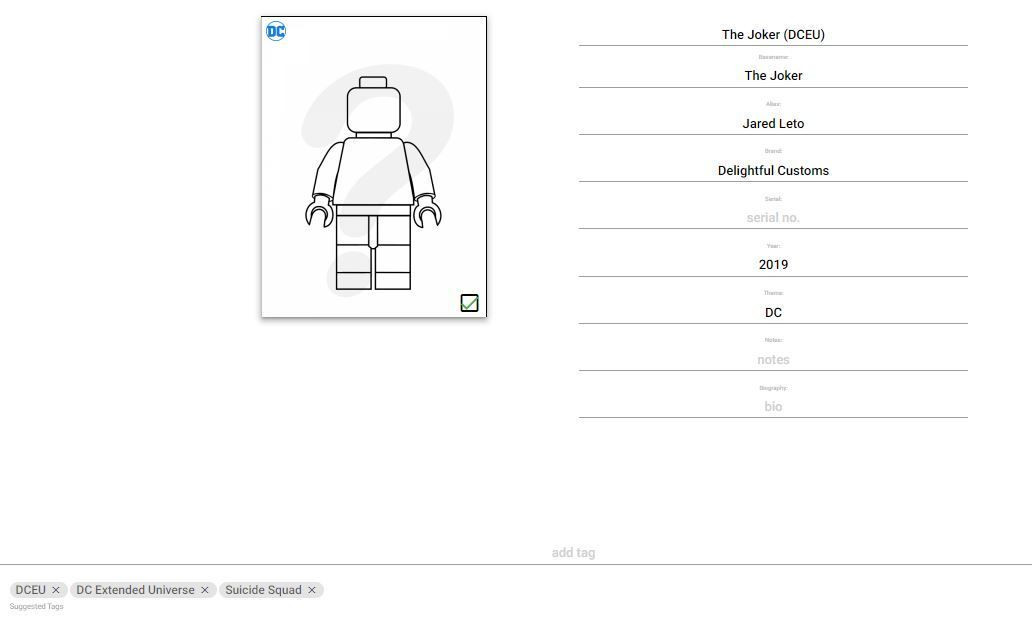
We're going to go with the first option. This takes us to the edit page:
Adding basic details
As you can see, most of the details are already filled in. Now it's just a case of adding, or changing, information as required. At the very least a figure will need a name. Brand and Theme are quite helpful too. You can fill as much of the rest of the inforamtion as you want. Obviously, the more the better.
A quick run down of what all the fields mean:
Name: What's this figure called? This should narrow a figure down so similar images are grouped together. In this instance we've gone with The Joker (DCEU). IF you weren't sure what it should be then you could have called it The Joker, but if you can find or think of a more unique name then that helps.
Basename: This is easier - it's just The Joker. This is a broader name that links figures together so all figures (in this case Joker) can be grouped together irrespective of whether they're from comics, films, tv etc. In some cases there may be two (or more) valid basenames. You can handle this with a /. So, for example, Yellow Lantern Batman would have the basename Yellow Lantern/Batman. If you don't include a basename then it's considered to be same as the name.
Alias: This is a bit of a multifunction field. It's designed to add other names to help searching. Use it to include a superhero's secret identity, an actor name, alternative spelling (ie Dr Fate and Doctor Fate or Grey and Gray), or the weird names that some brands call their figures (*cough* Phoneix Customs *cough*).
Brand: The brand name. If there really isn't one then use Unknown for an unknown clone brand figure or Unknown Custom for an unknown custom figure. If you add a new brand you can help out by adding a link to the brand's web page/Facebook/eBay page etc in the Notes field. This will make it easier for a poor Admin to track down this info to add a logo and backlinks.
Serial: Add a serial for the figure if there is one. If there's a figure serial and a different set serial add the figure one here and the set one as a tag further down.
Year: The year the figure was released. Leave blank if you don't know.
Theme: A broad theme (ie DC, Marvel, Game of Thrones etc). Narrower themes, such as DCEU, New 52, Arrowverse should be added as tags.
Notes: Any other useful info that should be displayed on the page: Quantity limits, release date if it's a pre-order, notable accessories such as a motorcycle, errors (if the figure has wrong parts, such as hair).
Biography: If you want you can add a bio for the character. Keep it brief. There are plenty of wiki pages you can get info from. If you copy an intro paragraph from a wiki page then add a link back to the source page. If you add a URL then enclose it with [URL] and [/URL] markup. You can add line breaks using the [BR] markup (one for a new line and two for a new paragraph). You can also use these markup tags to format the Notes section.
For this figure here's an example of the text entered:
The Joker is a psychopathic Super-Villain who was most likely driven mad by falling into a vat of chemical waste at Ace Chemicals in Gotham City.[BR][BR][URL]https://dccomicsextendeduniverse.fandom.com/wiki/Joker[/URL]
Note that if you add a biography this will display for every figure with the same name!
Adding tags
So you've updated the basic info. Now you've arrived at the Tag section. You can add as many tags as you want here. Include set serial numbers, any sub-themes that help group figures (For things like Star Wars you can add the specific movies/shows the figure appears in, or even which planet the character appears on).
Underneath the main tags are some smaller tag suggestions. These are tags that have been added to other figures with the same name. Just click on any of these to quickly add them to the current figure.

Sometimes you'll find a tag autocompletes to a longer tag when you try and add it. If you find this problem, just add a few spaces to the end of the tag you're entering to stop autocomplete. These will be trimmed off once the tag is added.
Adding images
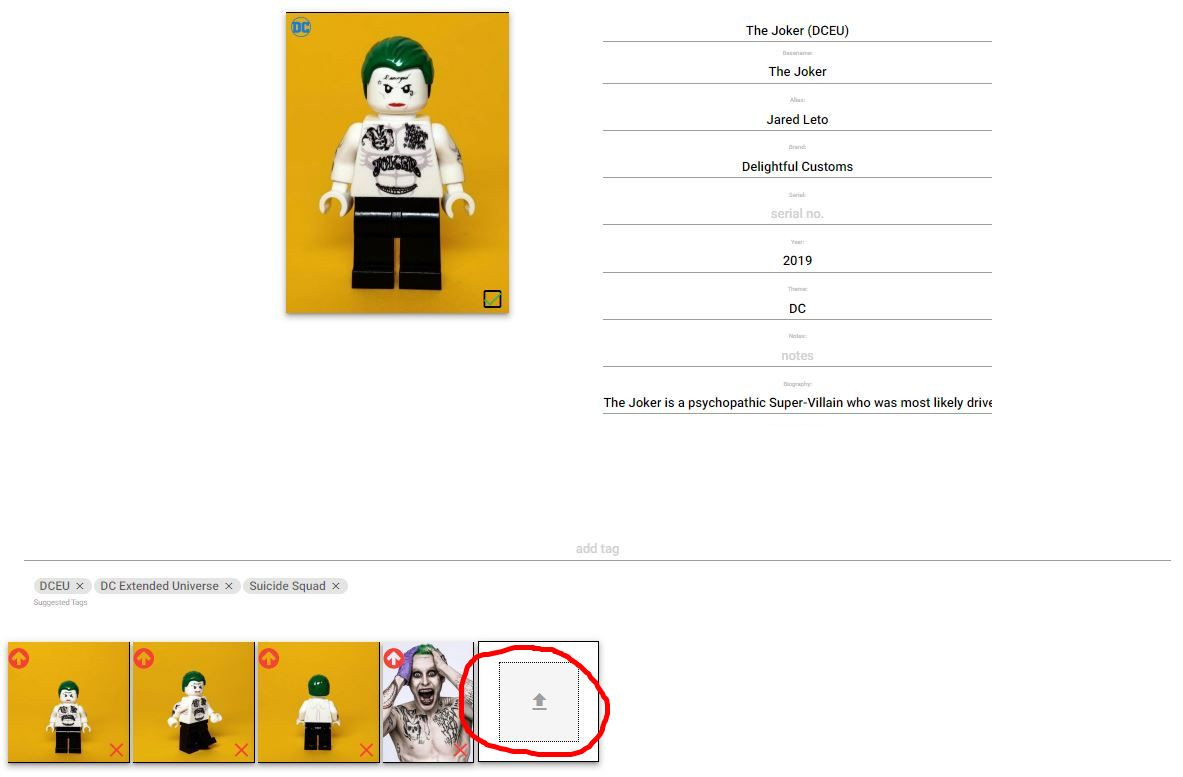
Now it's time to add some images. You can add as many as you want - the more the better. Feel free to add related instructions, box art and reference pictures such as screen caps or comic covers to help identify where a design comes from. Note, if you add images of comic book characters that aren't a comic cover, please add a reference in the Notes section stating the issue it's from if you can.
Just drag and drop images (one at a time) onto the upload box. You may need to resize them first if they're very large images, or convert them to jpg/png format.
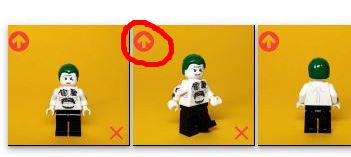
If you add multiple images, you can choose which image to use as the main one, by clicking on the arrow in the corner of the desired image.
Saving a new figure
Once you've updated the figure and added any images you can submit the figure by clicking the Save icon in the bottom right. Alternatively you can just delete the figure if you don't want it saved.
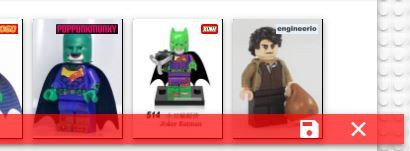
In most instances the figure will be queued for moderation. This allows an admin to give the submission a once-over to check for any obvious errors and to prevent any inappropriate uploads. Once a figure is approved you should get a confirmation email and it will be added to the site.
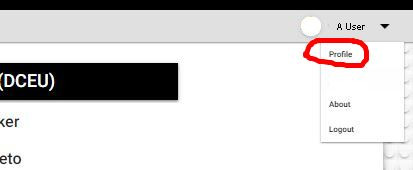
While awaiting moderation you can amend your submission at any time. If you go to your Profile page you will see a section for Uncommitted Edits.

That's it!
Adding a figure can take just a matter of seconds, so there's no real reason not to get involved.
You can now add more figures, edit exiting ones, and use the website to keep track of your collection.
Any questions or problems, please get in touch via email or Facebook.
Advanced Information
If you want to be really thorough, here's some additional info for adding figures.
Image preparation
If you're uploading your own images then the following information may be useful. Feel free to skip this step if you want to. It's a bit hardcore!
In order to make the main search results page look nice it helps to keep images looking consistent and neatly cropped so here's some technical info to help:
Search result images are displayed at a ratio of 180 (wide) x 242 (high), so any image you upload will be cropped to fit this size on the search results page. If it's too wide, the sides will be cropped. If it's too narrow the top and bottom will be cropped. So it's always better to have an image that is wider than this 180:242 ratio to avoid heads being cut off!
If you have a choice of images, or are taking your own photos, try to keep the main image as a straight on image, or better still, slighty off straight to see side-printing. To keep figure size consistent aim for a 10% spacing top and bottom of the image. You can increase/reduce this for figures with no headear or tall headgear as required.
Try to horizontally center the main image, even if this means adding whitespace to one side, so that when cropped the figure is central.
If you're using Windows we have a little program to make cropping images for the website quick and easy. Get in touch if you'd like a copy. Hopefully in the future this functionality will be added to the website.
Remove watermarks/logos if you like, but PLEASE only do this for the main image and include the uncropped/unedited version as a second image.
Compare the images on the main search page to the figure details page to get an idea of how all this works.
Grouping figures
There are a lot of brands out there that produce identical figures. All figures with the same name will show in one of two sections on the edit page.Other versions of this figure will show images that are identical designs. Other version of [The Joker (DCEU)] will show figures with the same name. You can move figures between these two sections by clicking on the blue arrows on the figure images.
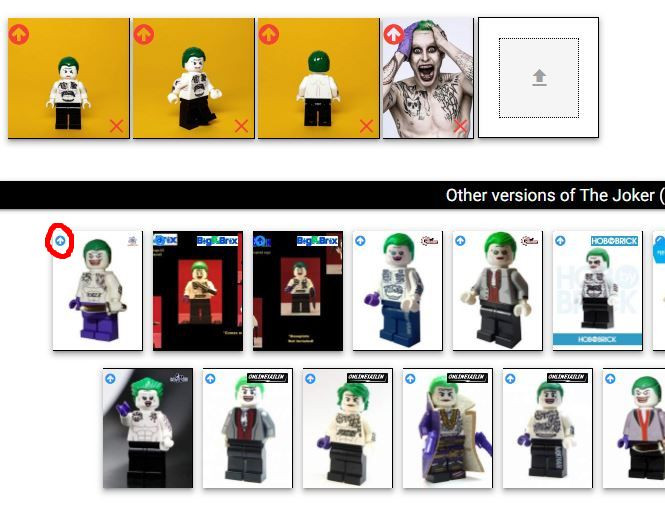
Once you've grouped any figures, you can mark which is the main source figure by clicking the checkbox that is on each of the identical figures.
